Tips for Shooting a Virtual Property Video With Your Smartphone
With Coronavirus (COVID-19) still a threat and social distancing becoming the new normal, rental property owners and managers need to think of creative ways to showcase their rental property virtually. One way is by creating a virtual property video tour. Did you know real estate listings with video receive 403% more leads than those without?
There are several approaches to creating a virtual property video — some involve professional production companies, oftentimes costing several hundred if not thousands of dollars. If you are pressed on time and money, we suggest a simpler solution — use your smartphone. It’s easy and equally as effective. It's also worth your time, as 49% of renters say a pre-recorded video tour is an acceptable replacement for an in-person tour.
We created a quick guide with some best practices for filming and editing a high-quality virtual property video tour with your smartphone.
Summary Contents
- Always record in landscape mode, or horizontally
- Lighting is everything; natural light is your friend
- Managing your audio while filming
- Frame your shots and limit zooming in
- Don’t accidentally cover the lens with your finger
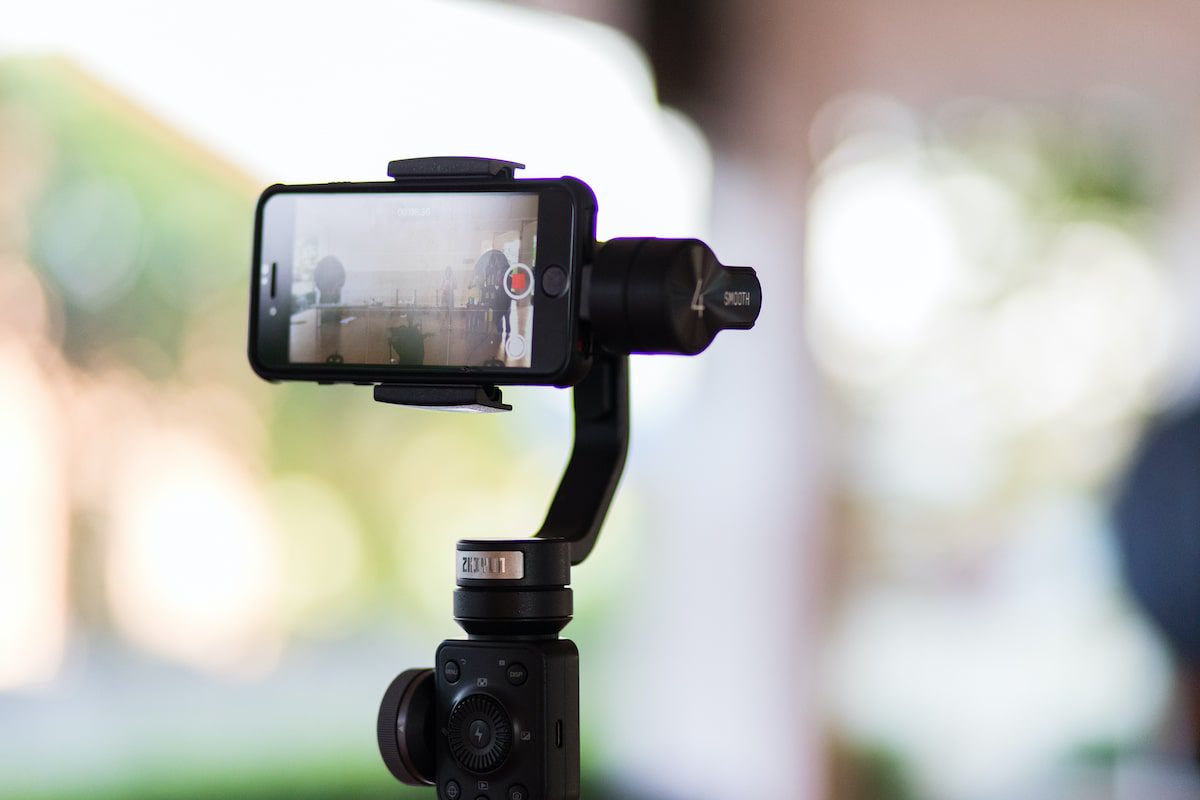
- Keep your hands steady while filming
- If you have time, edit your video to tell a cohesive story
- Here are some examples to give you inspiration
Always record in landscape mode
Nothing is worse than viewing a high-quality video with two black vertical bars on each side of the screen. Avoid this mistake by filming your virtual property video in landscape orientation, or horizontally. Besides being more aesthetically pleasing, you’ll capture more in your video than you would if you filmed vertically. Prospective renters that watch your property video on a widescreen or on their phones will also have a better viewing experience.

Lighting is everything; natural light is your friend
Generally, the best naturally lighting is in the late afternoon. However, if there are strong sun rays beaming through your windows when you’re trying to grab footage, these can cause your video to look overexposed, or too bright/washed out. If this happens, close your blinds a bit.
Backlighting is also important to pay attention to. Avoid shooting directly into a source of light or in front of windows. The bright light will ultimately overshadow what you’re trying to capture. Keeping natural light on your back vs. facing directly into the light will capture better results.
You’ll likely have to play around a bit with how much natural lighting you use based on your property, but small adjustments can make a large difference.
One last bit of advice: try to avoid using your smartphone’s built-in light. It never turns out as well as using natural light.

Managing your audio while filming
Plan on narrating? If there are certain features of your property you’d like to provide additional context for, we recommend incorporating narration within your video. For example, if you want prospective renters to know one of the rooms within your property was recently renovated, this is great information to include as a voiceover while you film footage for that room.
No narration? To avoid editing awkward background noise once you’ve captured all of your footage, we recommend turning your audio on mute while filming. Add some music once you’ve put your video together to keep people stimulated while watching. The music ultimately sets the mood for viewers while they watch, and they won’t be distracted by that truck that drove by while you were filming.
Frame your shots and limit zooming in
Just like photos, you want to have a clear focal point within all of your footage. Don't by shy. Be sure to showcase the best attributes of your rental property.
Lastly, while most smartphones have a zoom feature, we don’t recommend using it. This functionality makes your subject appear closer, but pixelation comes along with it, or blurriness. Rather than zooming, we recommend simply walk closer to the subject you’re looking to focus on to grab a tighter shot.
Don’t cover the lens with your finger
While this may seem obvious, it’s easy to film and not realize if your finger is blocking the lens. When you start to edit your footage, you’ll see the negative effects, such as an odd-looking color, as part of your shot. The exposure and lighting of the footage can also be compromised.
Keep your hands steady while filming
Besides those two black bars we mentioned above, nothing is more distracting to a prospective renter than trying to view a property video that’s shaky. When filming, keeping your hands as steady as possible is key.
We recommend standing against the wall or within a corner of each room and establishing a wide shot with your smartphone. Make sure to hold the phone as close to your body as possible and brace your arms at your torso. Then, carefully, slowly and steadily move your torso to capture the entirety of the room, grabbing a panning, or horizontal, shot. By twisting your torso, you won’t need to move your hands whatsoever, eliminating shakiness within your footage.
Still experiencing shaky videos? Consider investing in an inexpensive tripod. Here are a few options we recommend.
If you have time, edit your video to tell a cohesive story
A little editing of your footage goes a long way when showing your property to prospective renters. Here are a few apps we recommend to help put your video together.
- iMovie: Apple’s native video editor is a no-brainer if you have a Mac or an iPad. It’s easy to use, even if you’ve never edited video before. Drag and drop in clips to organize your video, and edit each individual clip by swiping down.
- Splice: this free iPhone app offers just about everything iMovie does. Simply tap clips to trim them. Soundtracks are offered within the app that you can also add to your video.
- VidTrim: video editing doesn’t get much simpler than when you use this app, made specifically for Androids. You can trim clips directly from your smartphone or tablet and immediately upload the finished video to YouTube straight from the app.